Loading video...
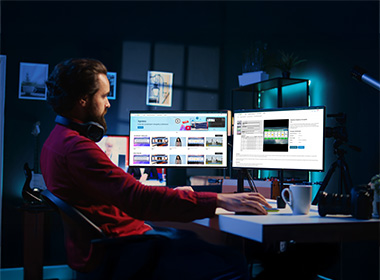
Enhance your livestreams with ready-made or custom real-time graphics designed for professional results.
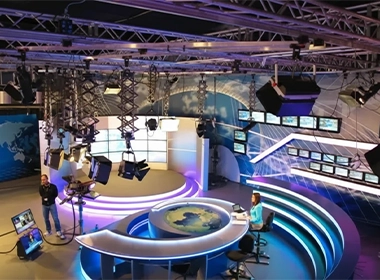
Transform small Chroma setups into stunning virtual studios using our powerful real-time TV graphics system.
Add CG overlays, AR graphics, videowalls, and more to captivate your audience and elevate every broadcast.
ExploreLoading video...
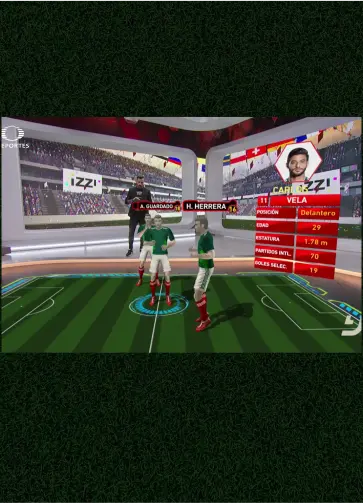
Create stunning livestreams effortlessly with our free 3D live graphics templates and software.
From overlays to infographics, everything is ready-to-use, free forever and customizable—no design skills needed.
Unleash your creativity with WASP3D Xpress- free powerful suite for livestream graphics
ExploreLoading video...
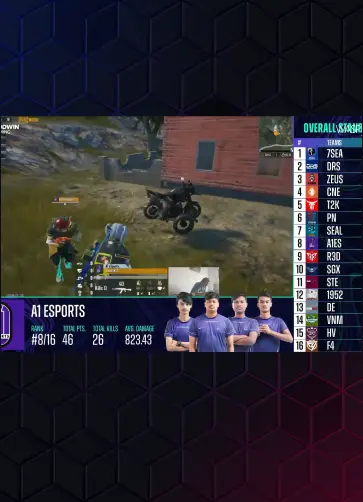
Design and Automate your live graphics broadcasting experience. Empower journalists with on-air update control. Utilize virtual sets and AR for captivating storytelling.
Explore